
Getting started with AWS Device Farm(AWS)
AWS Device Farm is an app testing service that can be used to test and interact with your Android, iOS, and web apps on real, physical phones and tablets which are hosted by Amazon Web Services (AWS). AWS like any other device farm provides a wide range of mobile devices which provides access to test an app on various OS version with or without the brand’s skin. As a result, this lets the user overcome the challenge of maintaining and upgrading their assets as per the market changes.
There are two main ways to use Device Farm:
- Automated testing of apps using a variety of testing frameworks.
- Remote access of devices onto which you can load, run and interact with apps in real time.
Setting Up AWS Device Farm
Step 1
Sign Up for AWS
Step 2
Create or Use an IAM User in Your AWS Account
Step 3
Give the IAM User Permission to Access Device Farm
Getting Started with AWS Device Farm
Step 1: Sign in to the Console
Sign in to the Device Farm console at https://console.aws.amazon.com/devicefarm.
Step 2: Create a Project
- On the Device Farm console, choose “Create a new project”.
- Enter a name for your project, and then choose Create project.
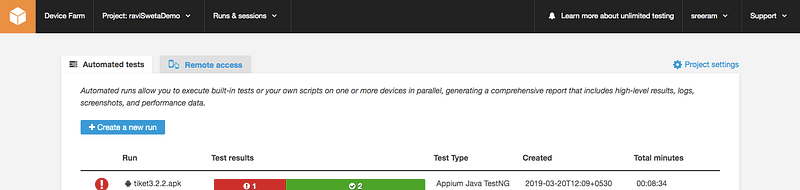
Step 3: Create and Start a Run
- Choose your Project.
- On the Automated tests page, choose “Create a new run”.
3. On the Choose your application page, choose Upload (Browse to and choose your Android or iOS app file).

4. On the Configure your test page, choose “Appium Java TestNG” from one of the test option (i.e., Built-in: Fuzz, Built-in: Fuzz, Appium Java JUnit, Appium Java TestNG, Appium Java TestNG, Appium Node.js, Appium Node.js, Appium Ruby, etc.).
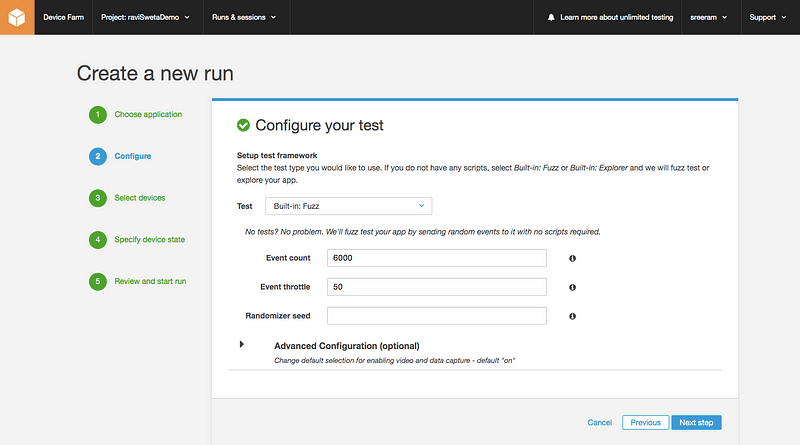
5. Choose Upload, and browse to and choose the file that contains your tests.
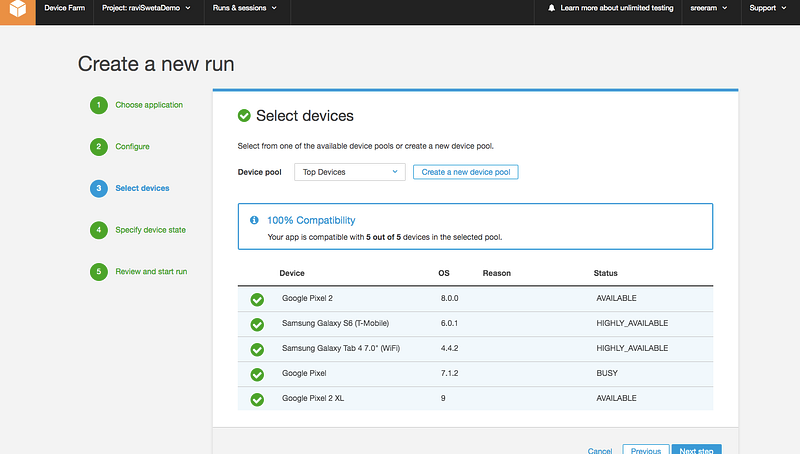
6. On the Select devices page, for Device pool, choose Top Devices to select the device pool, and then choose the Next step.
7. On the Specify device state page, we can modify Add extra data, Set radio states, Device location, Device locale, Network profile based on our requirementand choose Next Step.
8. On the Review and start run page, choose Confirm and start run.
Until the run starts, Device Farm displays a calendar icon. After the run starts, results appear as tests are completed. During this time, Device Farm displays a progress icon.
Step 4: View the Run’s Results
The run is complete when the progress icon changes to a result icon.
Therefore, to view the results, choose the completed run in the Device Farm console. A summary page displays:
- The total number of tests, by the outcome.
- Lists of tests with unique warnings or failures.
- A list of devices and test results for each.
- Any screenshots captured during the run, grouped by the device.
Happy reading!
Also, read our blog on Mobile Automation
Blog Cover Photo by Caspar Camille Rubin on Unsplash
This blog was originally posted here